a couple of weeks ago i realized i didn't know much about when the garlic was supposed to be harvested and panicked. i started reading about it (1, 2, 3) and learned that it's usually considered ready when the bottom leaves begin to yellow. i pulled up a test bulb and decided to wait a week.
a week passed and i woke up and marveled at some of our new tomatoes in the garden.
got reacquainted with hydrangeas
and got down to business.
v. weedy garlic patch!
i think this clove got knocked around by a frost in the fall because it grew upside down!
i read that you have to treat uncured fresh bulbs of garlic very gently because they're as delicate as an egg (!) so i took a big basket out to the garden with me and tried to remember not to throw them in from across the plot. i harvested them row by row so i could make sure to keep the different varieties separate, then i bundled the bulbs in groups of 15-20 depending on their size and hung them in our barn to cure. by the end of this week they should be ready to store.
the bulbs are a bit small but maybe even more delicious because of it. alnis and i both were interested in doing some braiding but i've read that this is more commonly done with softneck garlic (all we grew was hardneck) and our leaves were maybe a bit too brittle & yellowed anyway when i got around to pulling them up. might still give it a try, though. why not, right?
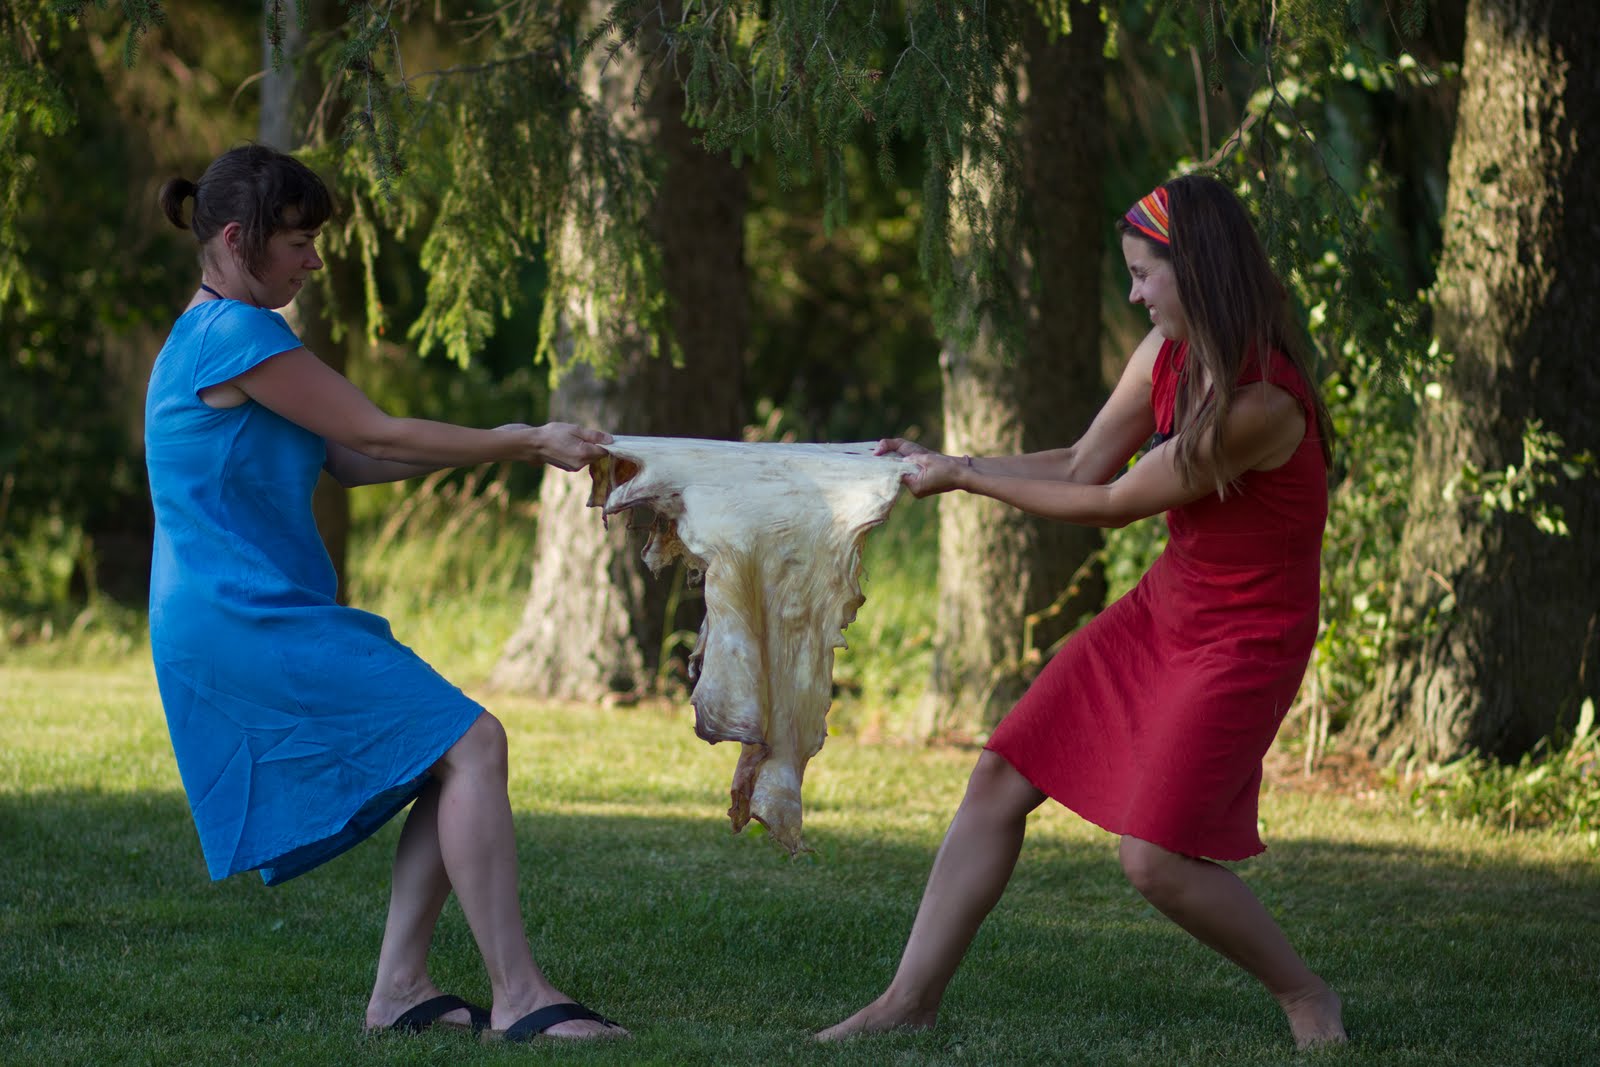
part 5 took place on the same day as part 4, and brooke & i were pooped by the time it was time to soften. while clay, alnis & the other boys played quoits and swam, we busted ass in the heat & deer flies of a waning day. softening the hide involved st-st-stretching the hide any way we could - across our knees, on top of tables, standing on one end and pulling the other and constantly working the edges by rolling them out with our fingers and abrading them against a cable we set up in a spruce at the front of our property. the cable also served to abrade other parts of the hide and make it super duper soft (some places).
brookie, going for it, letting loose
not much to see but my biceps are flexed to the max here
we gave it our best effort but it was very hard work and if i'm going to be honest with you, i'll have to tell you that we have a few crusty spots on the finished product! this is mostly because those parts dried before we were able to really stretch and abrade them. the softening process has to be constant after you start because once the hide dries it can be really hard to get back into it without going through the soaking process again. constant meant no supper or swimming until we finished around 9:30 pm. oy!
the sun began to set, we began to fade
a bit worse for wear but here we are with the ole' hide, dying for a swim and supper
so here it is! our hole-y holy hide, not quite finished but done enough for now. in order to have it turn that beautiful tawny colour of most buckskins, we still have to make a punk fire and smoke it. this also will water proof it a bit and keep it from going hard if it gets wet. hopefully we'll get that done sometime in the next few weeks and then...onto moccasin making!
to wring the hide, we turned to our trusty deerskin to buckskin handbook and some utube clips for the proper technique. we used the swing set that was destroyed in our canada day party, and a short broom handle. emily did most of the work but i helped with encouraging words.
the boys continued to be impressed, while keeping their distance - even had some friends over for a swim and some other recreational activities
we were amazed at the texture of the hide once most of the moisture was gone...
...and couldn't believe the amount it stretched out (even though all of the reading told us to expect this)
once you begin to stretch it out like this, it begins to dry, so in order to ensure that the hide is nice and soft, you have to keep stretching and "softening" until the hide is completely dry. once you start stretching, you need to be committed to finishing the job.
it was great, hanging and talking to the ladies during this process. like sewing together or crocheting, it' s a nice and productive way to connect with your girls.
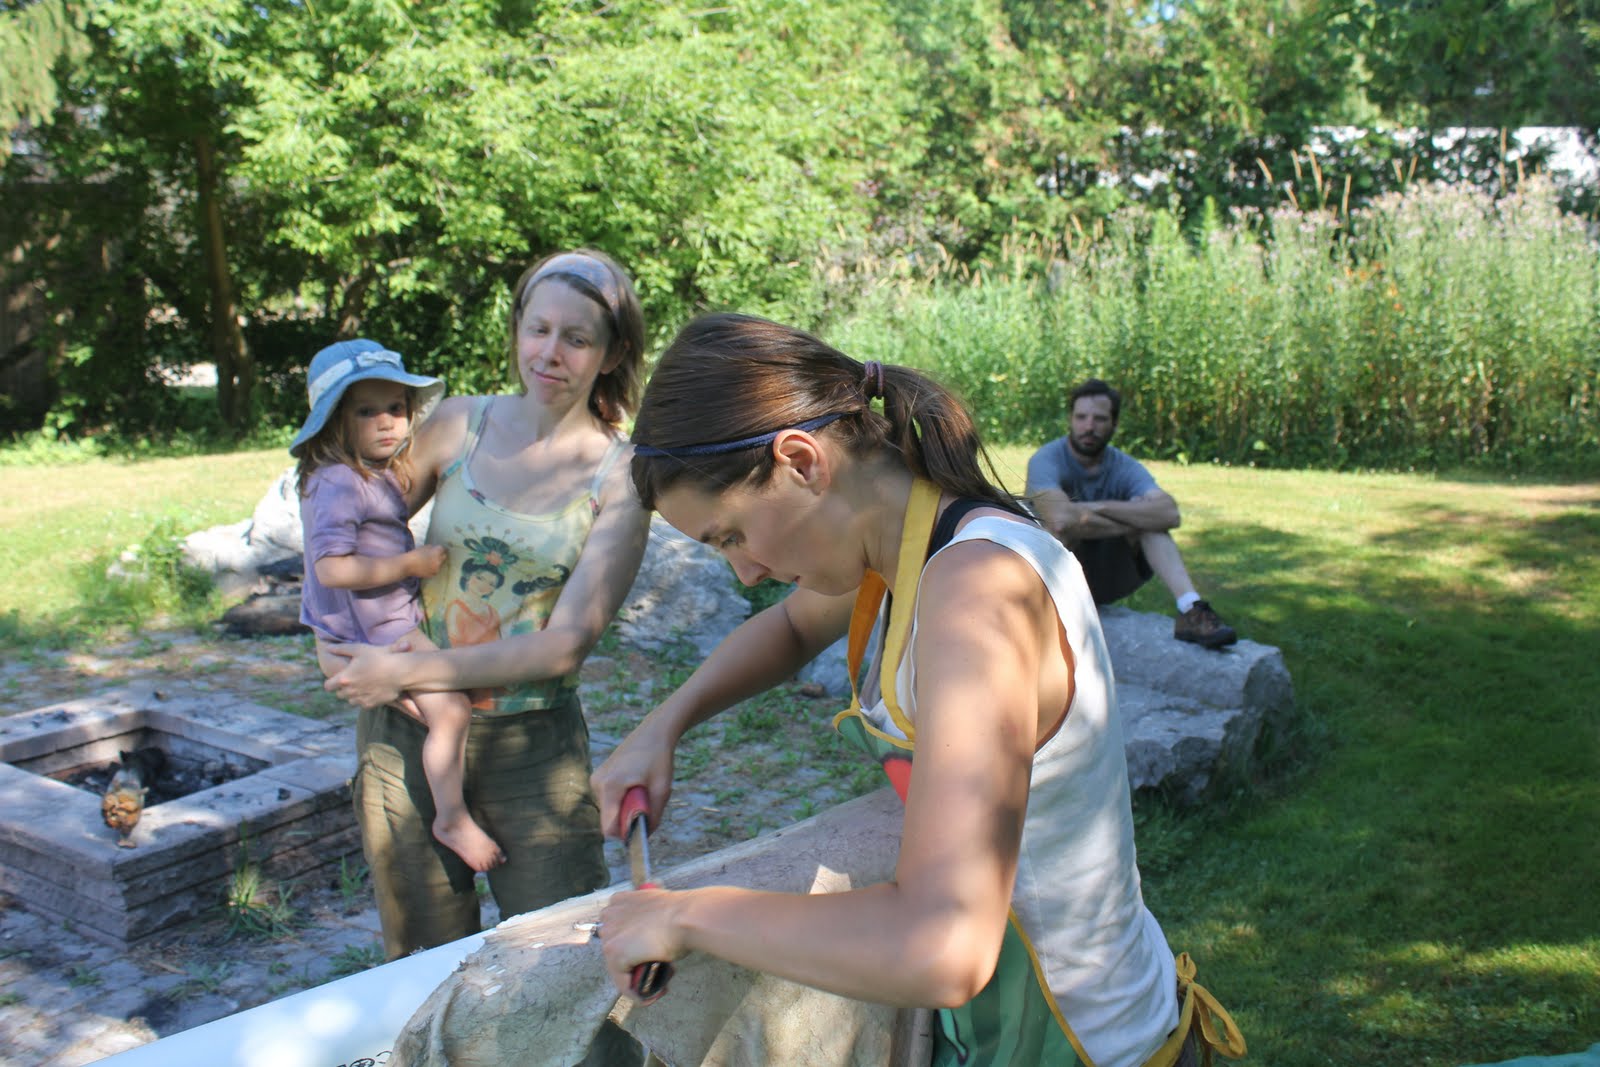
after acidifying the hide in a weak vinegar bath we went on to the next bit of grunt work - membraning the hide. it took more effort than we thought it would, luckily we booked the whole weekend for this project and had plenty o' time.
a bit harder than anticipated to get off the membrane layer...and not easy to tell if it's all off!
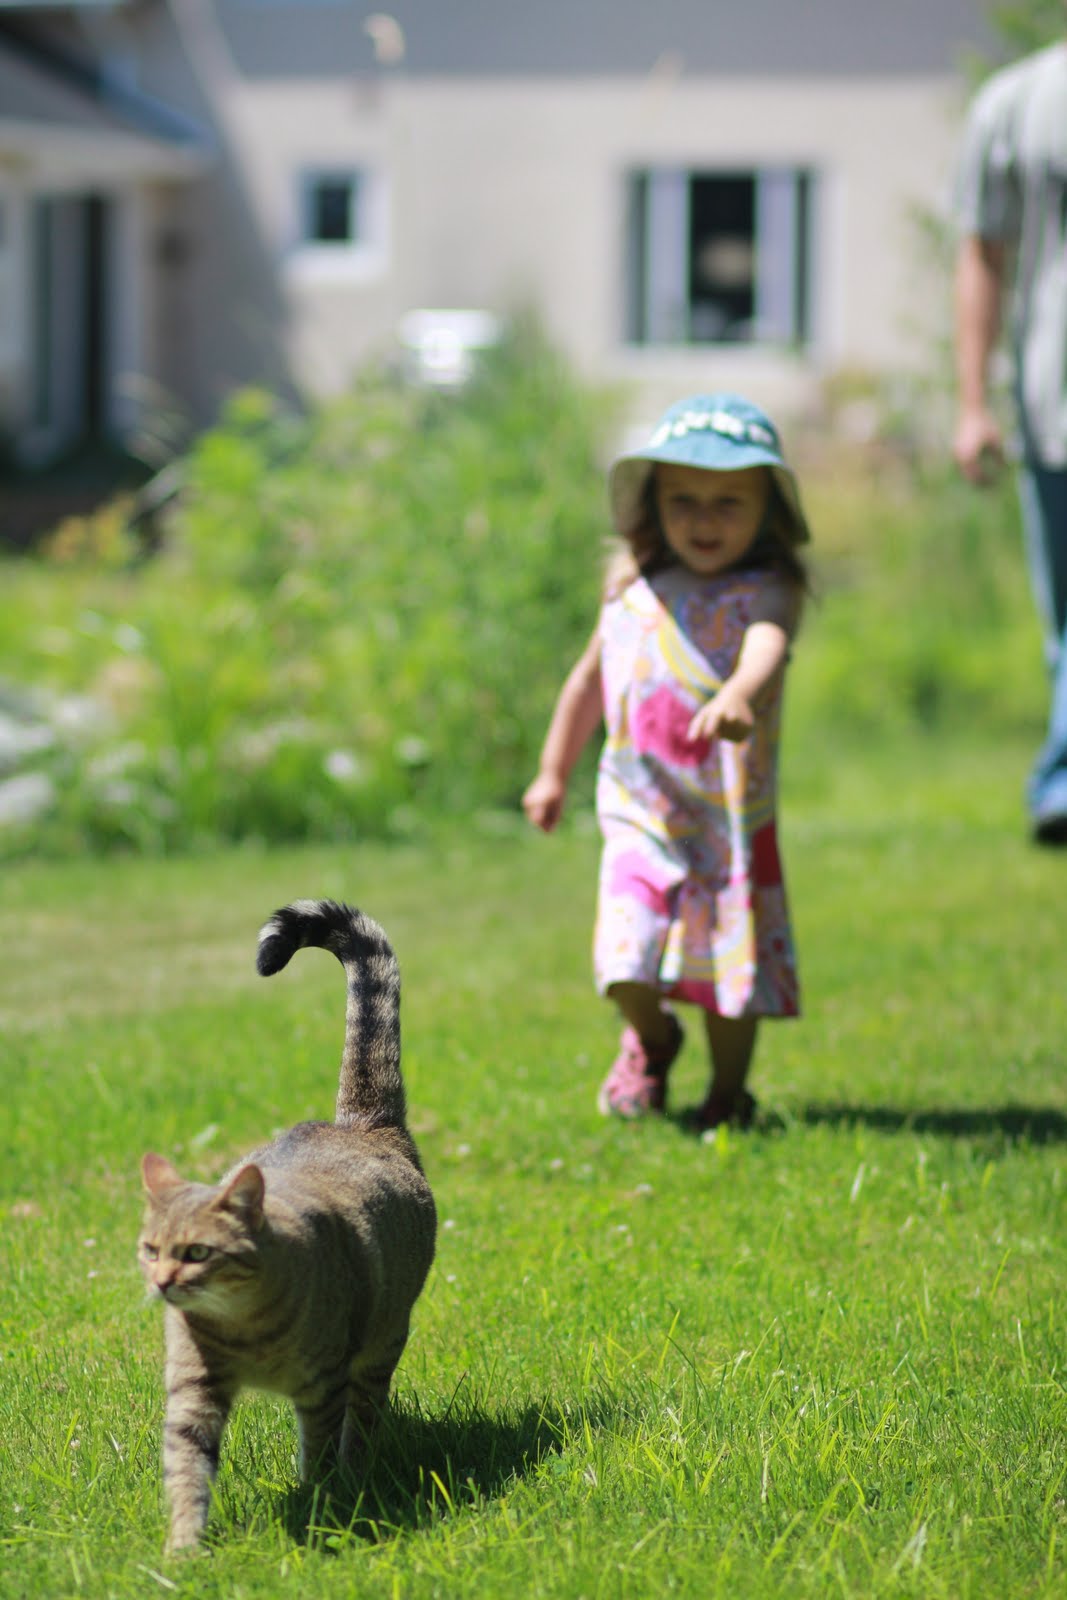
it's business time - if you look behind the hide you can see one of the chickens eating the pieces of membrane that were falling on the tarp. emily was really enjoying watching this.
she's like - wut?
the men of the house usually kept at least 20 ft back from the hide in all stages of the process, but were supportive from a distance nonetheless. smiling alnis doesn't realize that this chicken was just eating membrane, i guess.
laura finished up the membraning while emily, katherine and i went to the uxbridge farmer's market. when we got back, the hide was totally dry and we proceeded with the dressing step. when we initially found the hide, we were told by pro hide workers to go back and retrieve the brain from the carcass in the woods so that we could dress the hide with the brains. emily did end up going back with a hacksaw, but the carcass was gone. so instead, we used eggs for the dressing step. you can actually use the brains of other animals as well in a pinch - any brains you have on hand really. for serious. we just used eggs though...this time.
next up - delirious brooke and emily wring and then soften the hide until 11pm that evening.
the hide had to buck for 3 days in the ivory soap solution but after spending a nice evening on friday watching some youtube gems like
and (i hope you watched that one until at least 1:16)
we were ready to get on with the process saturday morning. next step: graining.
laura, nic & maya came over to hang out, camp out and help out, which was greatly appreciated as graining turned out to be quite a task for a sunny 30+degree C day. the grain is the part of the hide just under the fur that became bloated during the bucking process. the hair was really easy to take off, the grain, not so much. all of it had to be removed to ensure that the every part of the hide would soak up the brain (or eggs, in our case) mixture so brooke, laura and i scraped and scraped and scraped from about 10 am to 4 pm with lots of swimming throughout, a picnic dinner and campfire to finish off the day. we sprinkled the hair around the garden to ward off carrot predators and left the hide in a slightly acidic solution (by using apple cider vinegar) overnight to neutralize and prepare for the last few steps. what a day.
work it, brooke.
laura does her scraping in a beautiful dress
maya
sabi, being a good sport
scrape scrape scrape
holy moses it's hot
end of day shot! this was actually the point where we realized for the first time what shape our hide was actually in. since we had scavenged it frozen and already removed we didn't really have an idea what we were working with.
next steps: acidifying, membraning, soaking, softening & smoking!


